
How To: DIY Deathrock Vest
/Previously I wrote an article titled 'How To: DIY Deathrock Jacket for Dummies' In which I went on a journey to create my first ever DIY project. Once completed I went on to make several pairs of pants, and being that it's summer, decided to create something I could wear to events that wouldn't be as hot as my jacket. While there is still some valuable information in the previous post that I won't cover here, I feel confident that I learned a few things and can hopefully impart some knowledge. As always, DIY is meant to not just be a labor of love, it's meant to represent who you are and to be unique, so take the concepts I've presented here and make you own design (e.g. for my wife's jacket, she's building a chain mail sleeve)
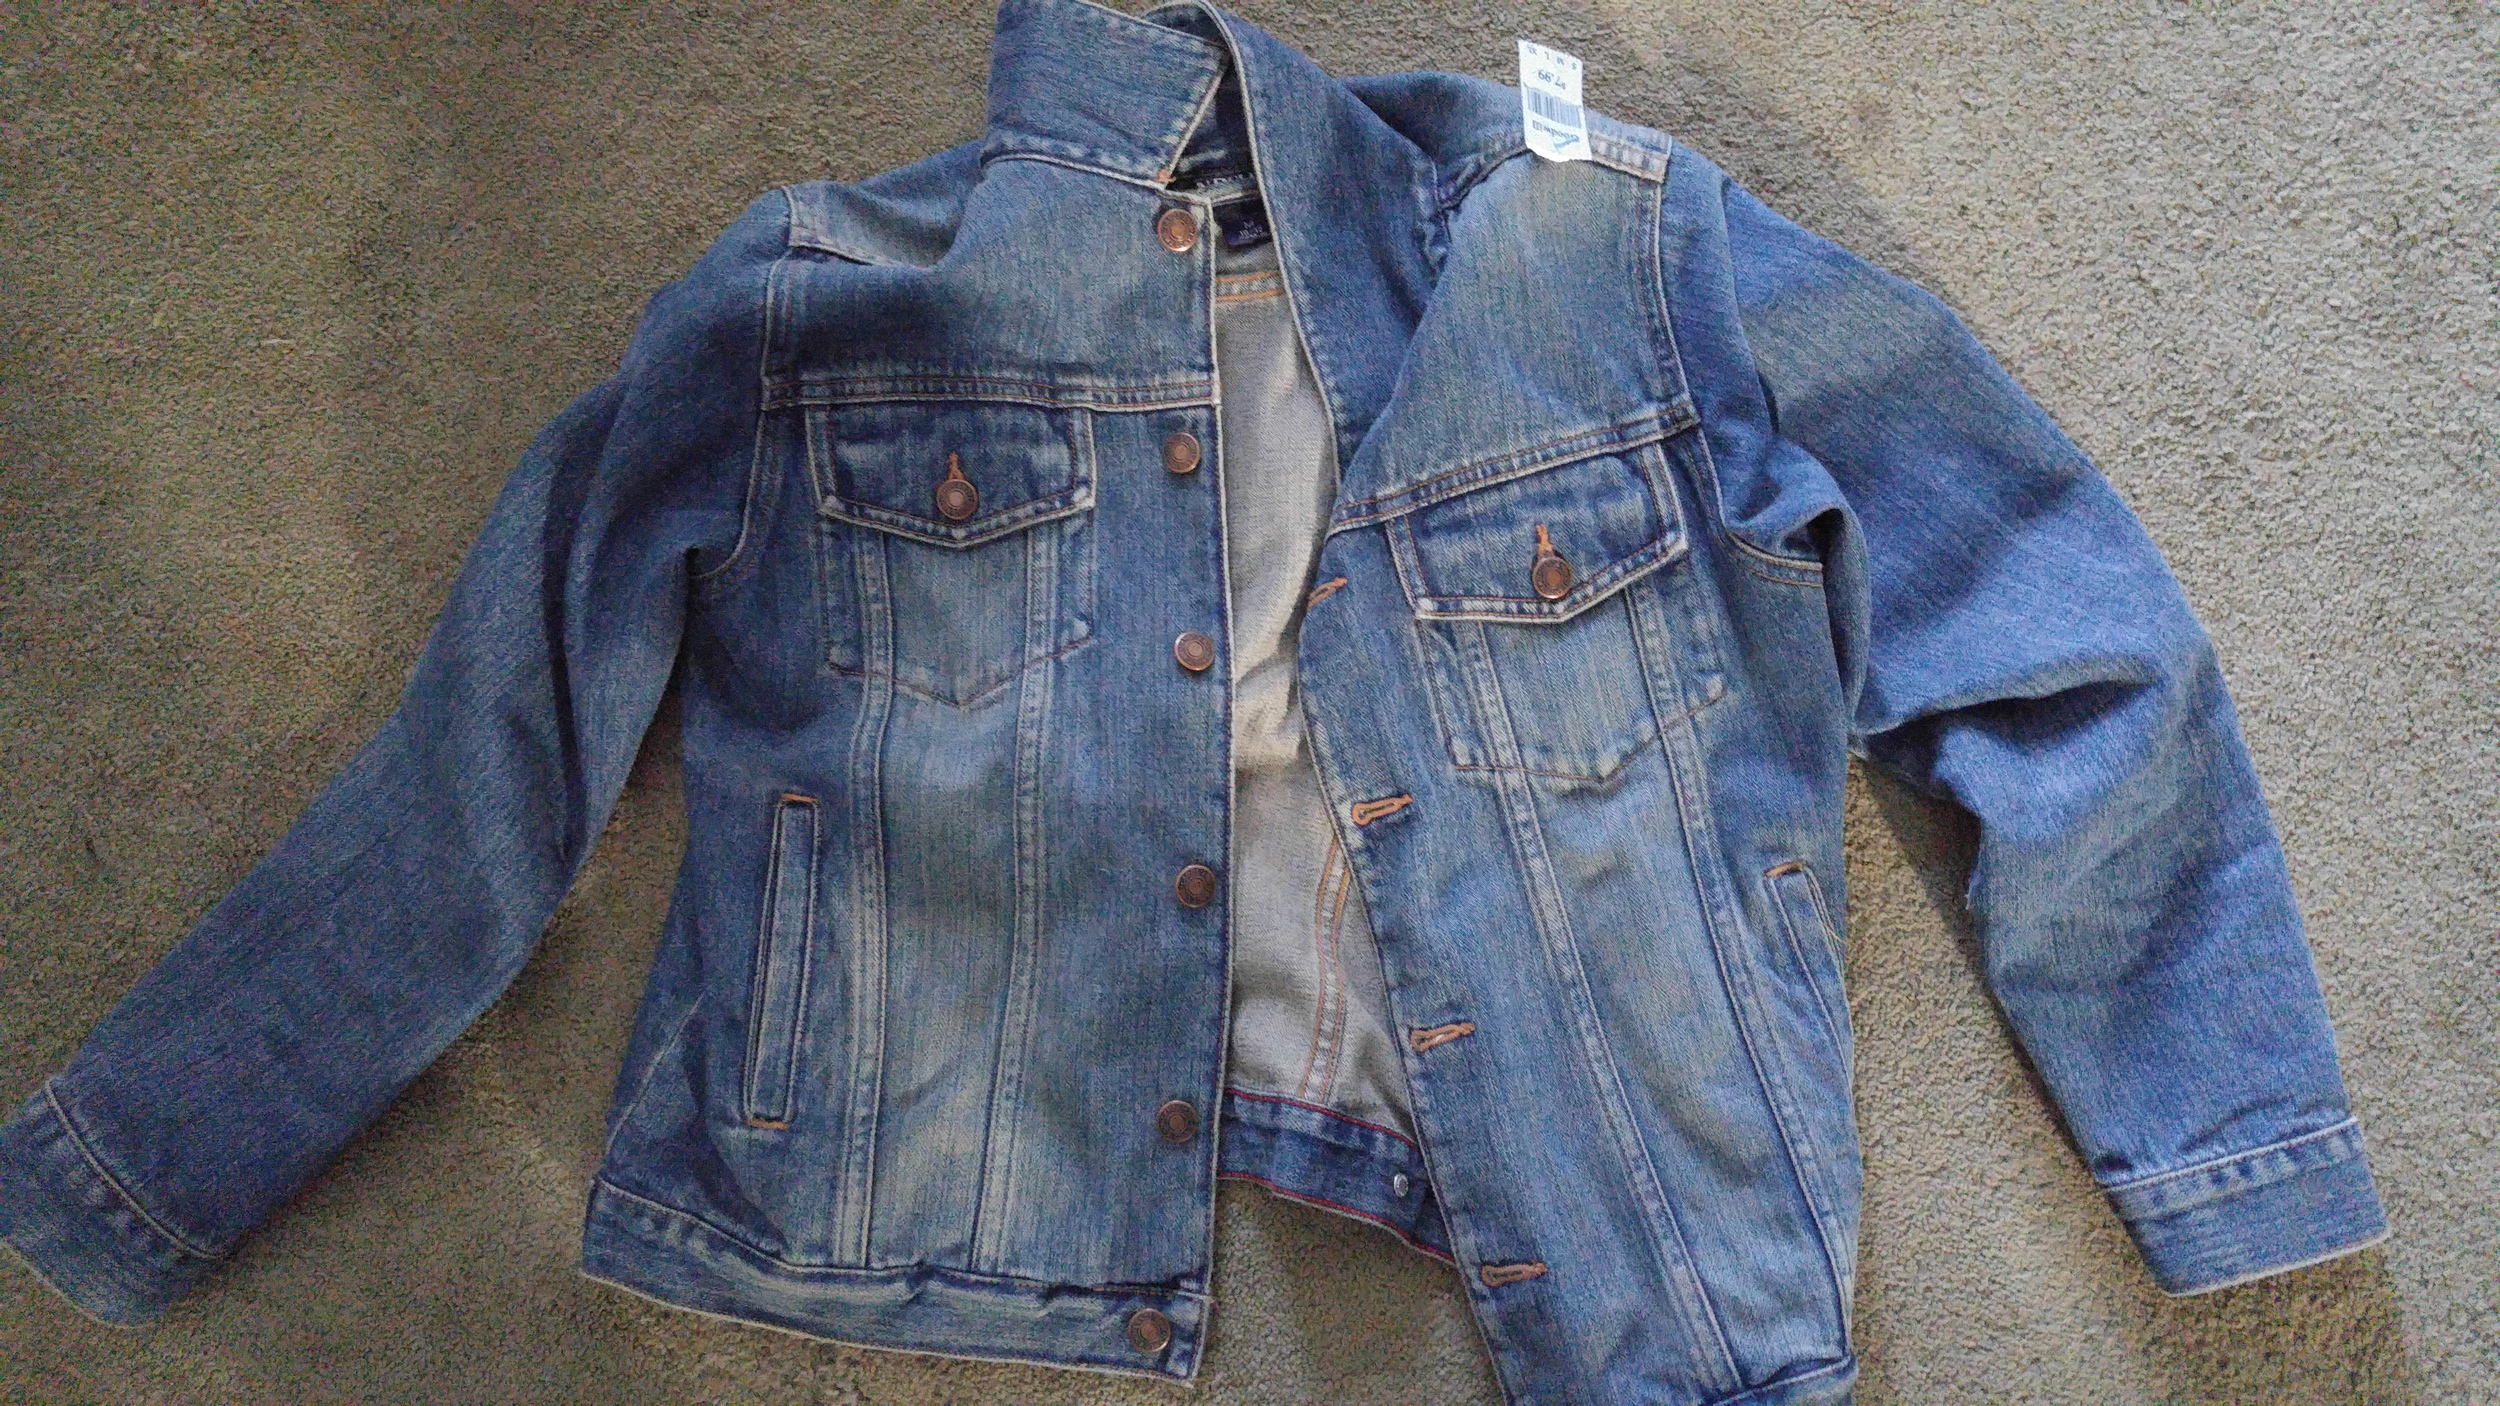
The first step here obviously is to obtain a vest. This is important, especially if you want this thing to last for a long time. You have a couple options, you could buy one directly from a store, Levi for example makes some high quality and durable vests, or you could thrift one. I wanted to build from the ground up so I went thrifting. This did, however, cause some problems as you will see, but it also limits the availability and increases the amount of time it takes. Also very importantly, you don't want to just grab the first jacket/vest you find like I did, you want to make sure the fit is perfect and that it's a durable high quality build. After you put so many hours into this thing, you're going to be pissed if it falls apart in a couple years. Here's what I got for $6.
Obviously this is a vest build so you'll want to cut off the sleeves. Be sure to cut outside the stitching, otherwise your jacket will start to unravel.

So you've got a vest. But wait! you say, it's not black! Depending on what look you are going for, you certainly can use just a normal blue denim vest, I however am addicted to black, so the next step for me was to dye. (also, keep the sleeves, and any other fabric for that matter, you never know when you might be able to use it for some future project!)
A few notes before dyeing, the dye I use is RIT dye, this is dye that does not work on synthetic materials. Why does that matter for a jean jacket? Well the stitching on jean jackets just so happen to be synthetic thread, that means after you dye this think, your threads are going to be red or orange. That was a shock to me, so what I did was actually buy a sharpie and just color in all the stitching. Once you've got your patches and stuff on the vest, you won't be able to notice. So now it's time to dye, below are my instructions for doing so.

WARNING: Be sure to wear gloves and BE CAREFUL. Assume that anything the dye touches can/will become permanently stained, so think through where and how you will do your dyeing.
1. Get your supplies. You need a way to boil water, a sturdy bucket, a box of salt, some dish detergent, and gloves to start.
2. Boil your water to around 190 degrees. RIT has some directions for measuring the amount of water you use but I don't have time for that shit. Just make sure you can submerge the item.
3. Make sure your item is already wet.
4. Put a small dab of detergent in your bucket.
5. Pour your water into the bucket.
6. Use 1 cup of salt per pound of clothing, I usually just pour it into the bucket very slowly and then stir to make sure the salt dissolves.
7. Very carefully pour in your dye. I always use 2 bottles, just to make sure it's extra goth.
8. put the item into the dye bath.
9.Stir for 30 min. leave in for 2 hours coming back every 30 min to stir the item for even distribution.
10. Carefully pour out water and wash the item in cold water to get most or all of the dye out
11. Put into washing machine cold cycle with another black item and no soap then hang dry over something that can stop any leftover black dye form dripping onto your floor.
Here's what my vest looked like after. (remember you will need to color in the stitching)

Next up we have the collar, you can do a number of things with the collar, I decided I wanted to sew some fabric rather than leaving it, patching it, drawing on it etc. For the type of collar on this vest, I measured the length from the longest point and the height. Then I added about a quarter inch to the length on each side so I could wrap the fabric around the ends. From there, I actually used some fabric glue to fasten the material to the vest and then did a whip stitch all the way around. It ended up looking like this.

It was at this point, after all that work, I realized the jacket was a good 3 inches short. Dismayed, I resolved to fix the problem. So I took an old pair of jeans that were a similar shade and cut 3 measured pieces to sew to the bottom of the vest. This vest in particular was tailored to be shorter on the front and longer in the back, so to make it even I had to angle the edge pieces. It was a pain in the ass, but I felt pretty good accomplishing the feat.

Next up we have design. I teetered between a few ideas but I wanted this to be patch heavy. My recommendation is to actually sketch out how you want your vest to look before sewing anything, you can also use google and other creative friends pevious work as ideas for your own. It can be a pain to wait for all the pieces to come together, but it's even more of a pain if you sew something, realize it doesn't fit with some other patches, and have to start over. For finding patches I used a combination of etsy, ebay, commissions (because I can't draw), and band websites when possible. Concerts, old shirts, and flea markets are another source if you can't make your own. For thread, you're going to want to use something sturdy, I like wax thread because you can use long stretches of it and it won't get knotted easily, which can be a real pain.
Pro Tip: if you find you have trouble sewing patches evenly you can use that fabric glue mentioned earlier to lock them into place first.
I personally find sewing to be relaxing, but if you don't, beer is always appropriate.

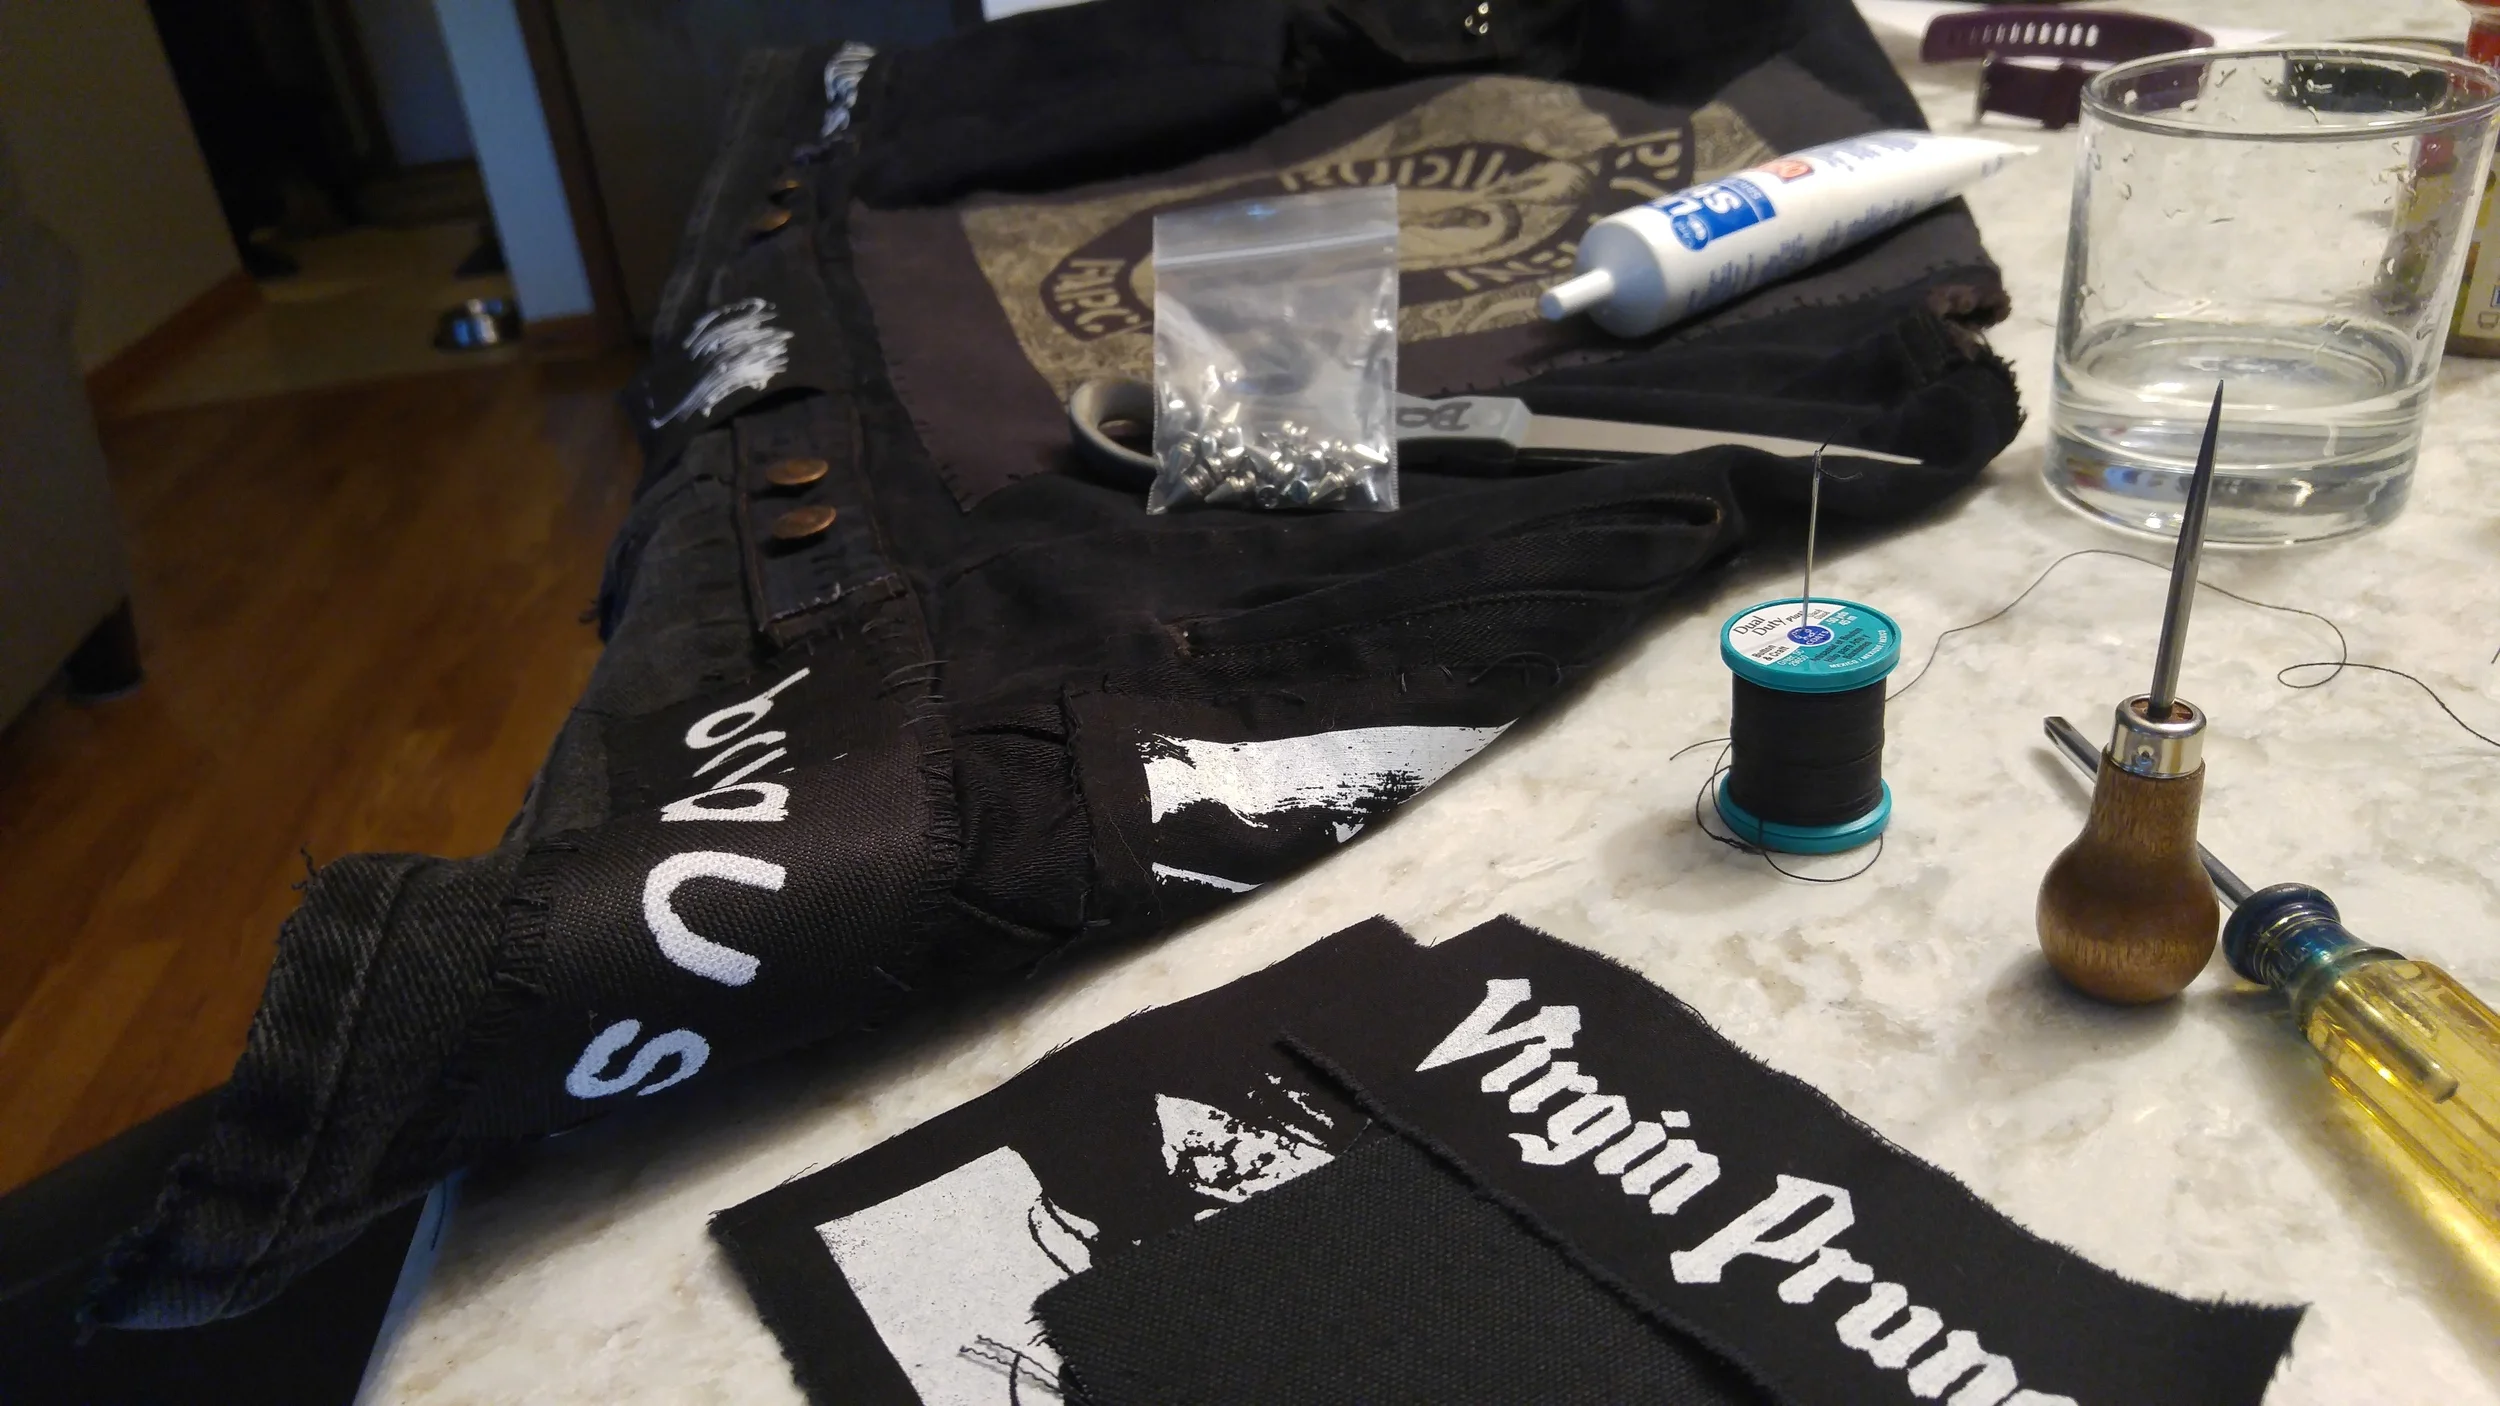
I wanted to add a few more elements to the vest, so I settled on spikes (as you can see above) and buttons. Now when ordering spikes, if you intend to get large ones, make sure your vest is very very sturdy, otherwise you'll find, like I did, they will just droop like a sad limp metal dick. I ended up getting smaller spikes and those stayed well. I used a thread spreader to make the holes, but it was a huge pain in the ass trying to fit the screws through. I'm glad I didn't go with my original plan which was much more extensive spiking, becasue this was really difficult.
After that I added the pins where I thought they looked good and it was finished! All in all it took me a couple of months, but of course that time will vary depending on skill level, availability of supplies, and free time.


Hopefully this inspired you to make something new, or start something for the first time. If you have any tips or tricks of your own, please leave them in the comments to help others!
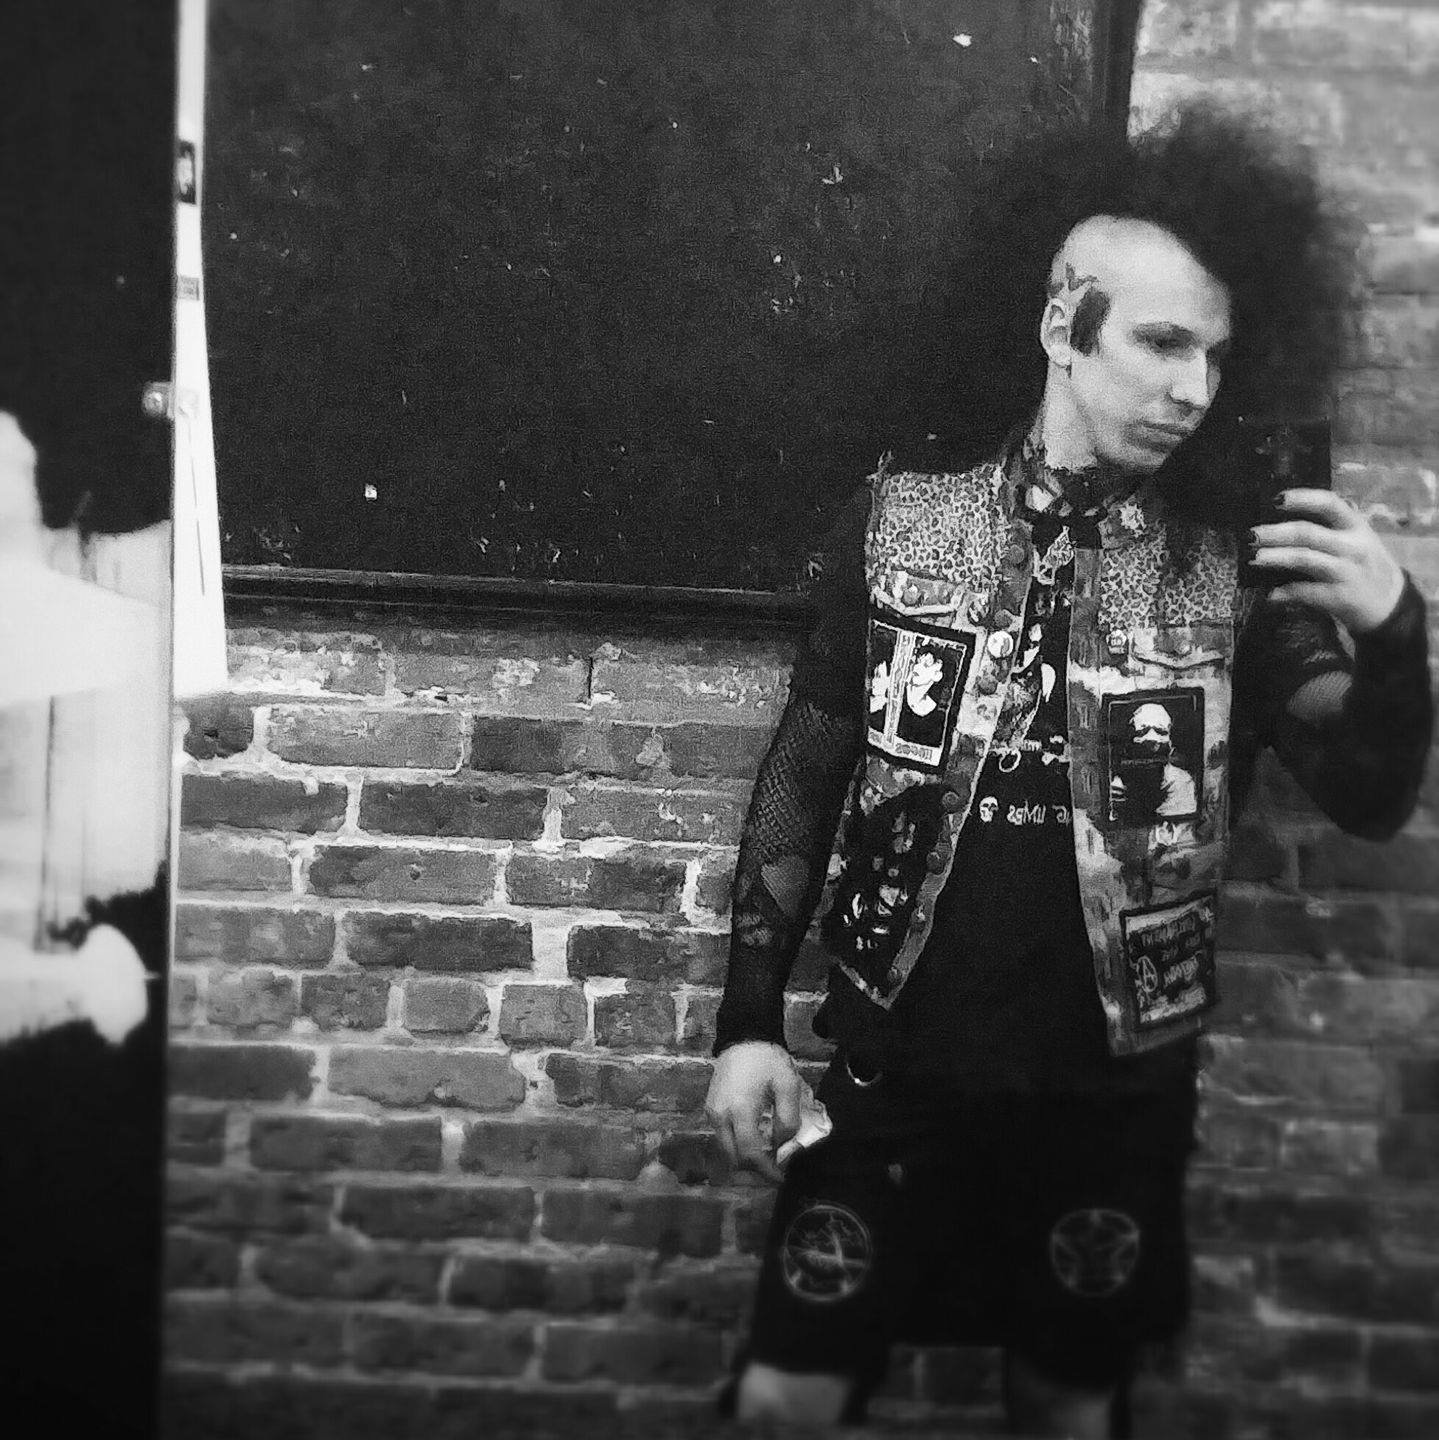
DIY is a rewarding challange and can bring you some real goth cred. So go make something, and post a photo of your creation so we can appreciate it!


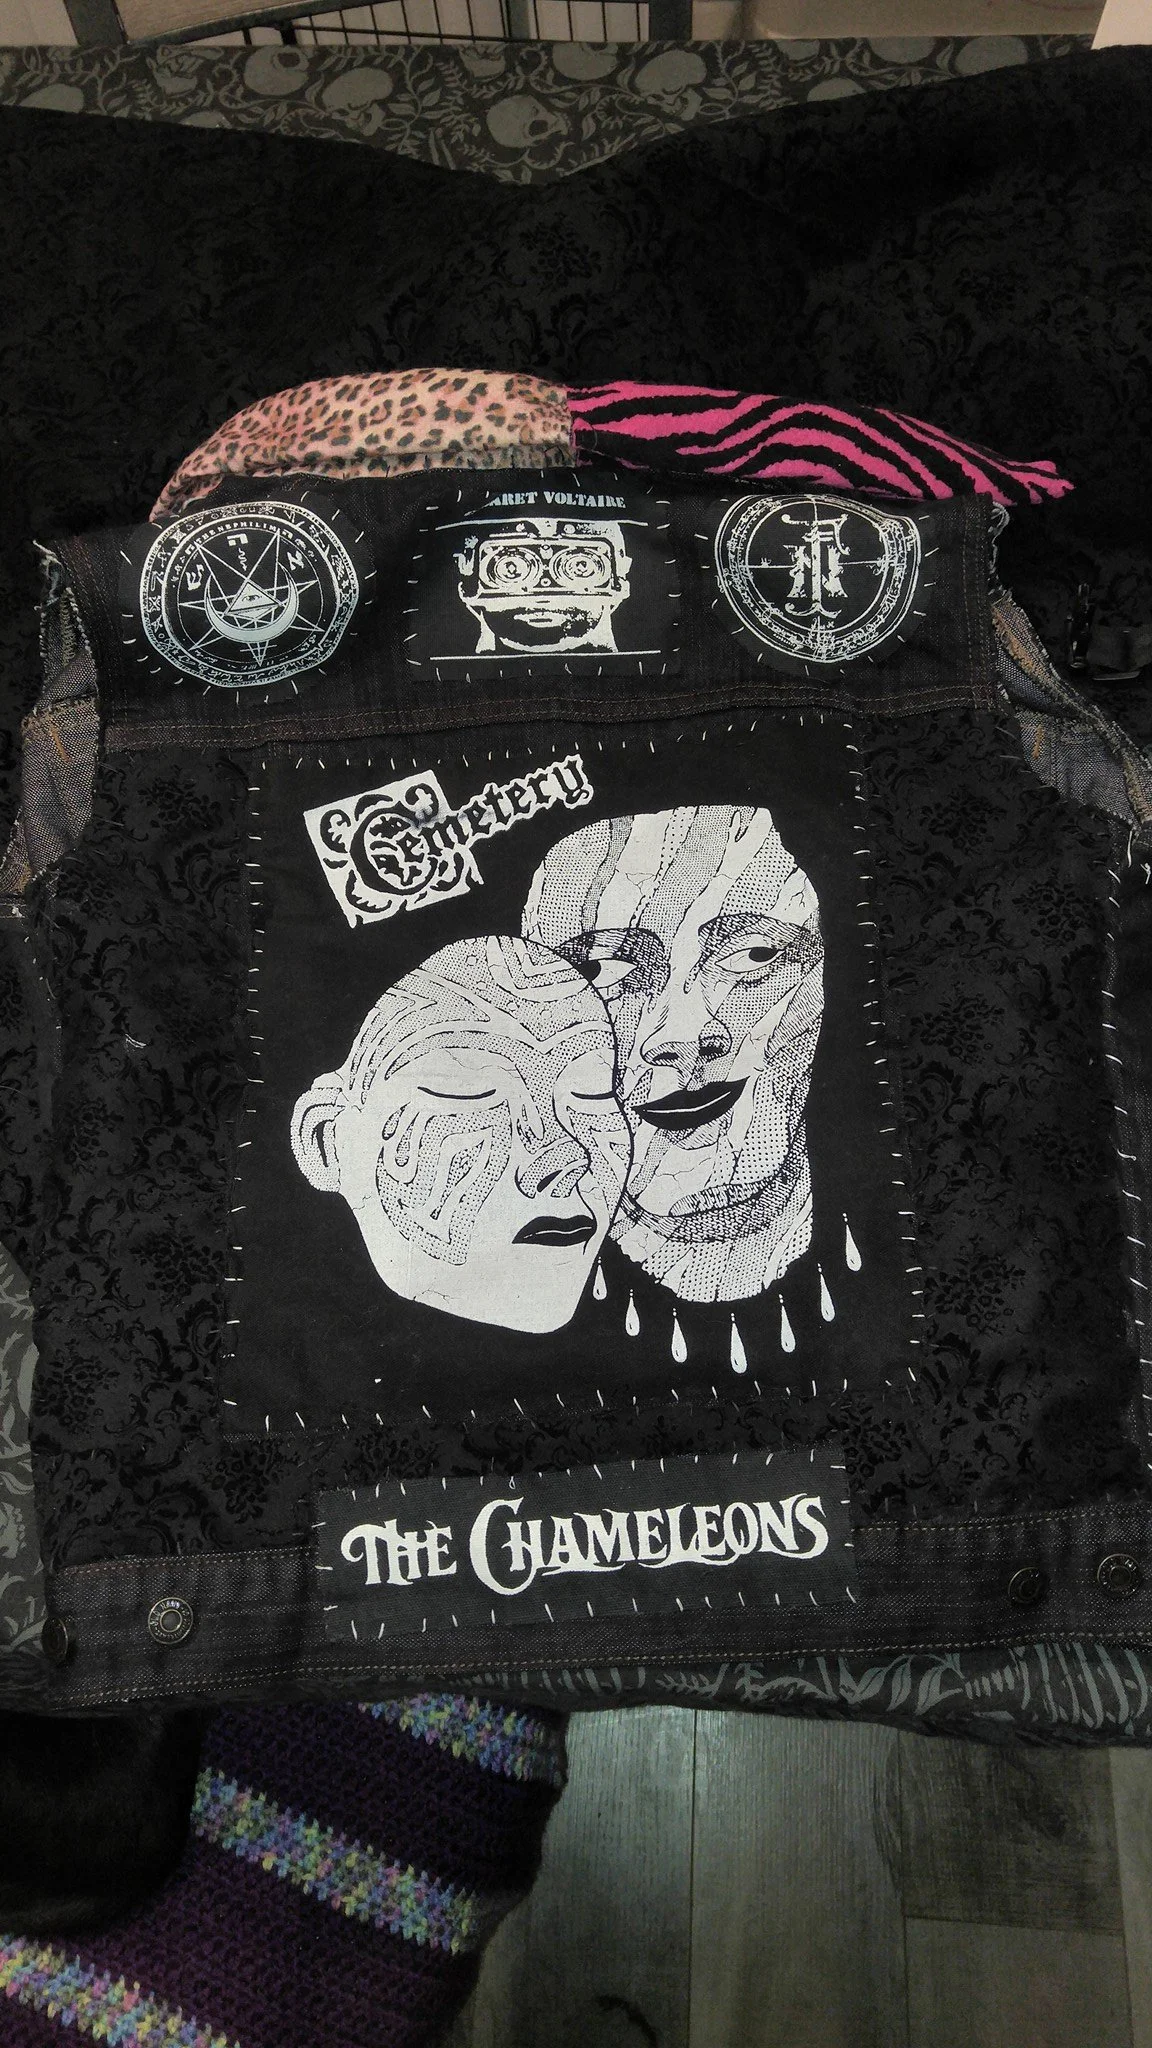
Here are a few other vest designs I’ve created:


-Dani Ashes runs the Cemetery Confessions podcast and The Requiem Podcast. For more info on The Count, click here.